Transforming product ideas into successful plastic prototypes is often the most crucial step before large-scale production. Still, it is also often difficult due to unsmooth processes – slow iterations, quality fluctuations, process mismatches, or cost runaway can all cause inspiration to fail.
A clear and actionable plastic prototyping process, supplemented by a trustworthy cooperative relationship, is precisely the core weapon to break through these bottlenecks. Help you precisely verify and optimize the experience before the design is finalized, and significantly shorten the product launch cycle.
What Is a Plastic Prototype?
Table of Contents
ToggleThe Essence of Plastic Prototypes
A plastic prototype is a functional or visual sample made according to the specifications of the final product. It is your “trial run” phase, used to verify the feasibility of the design, test performance, and collect feedback on the prototyping of plastic products.
Unlike mass-produced products, plastic prototypes prioritize flexibility and verification. They are highly suitable for small-batch and iterative development without the pressure of cost optimization.
Why You Can’t Skip Plastic Prototyping
Skipping the plastic prototype design will lead to high subsequent rework costs – discovering design flaws in the prototype stage is far cheaper than fixing them in the middle of production.
It can also fine-tune aesthetics, ergonomics and functionality through intuitive feedback. No more guessing whether your plastic prototype is feasible in actual use.
In addition, physical plastic prototypes simplify communication with teams, customers and manufacturers. Everyone can reach a consensus more quickly.
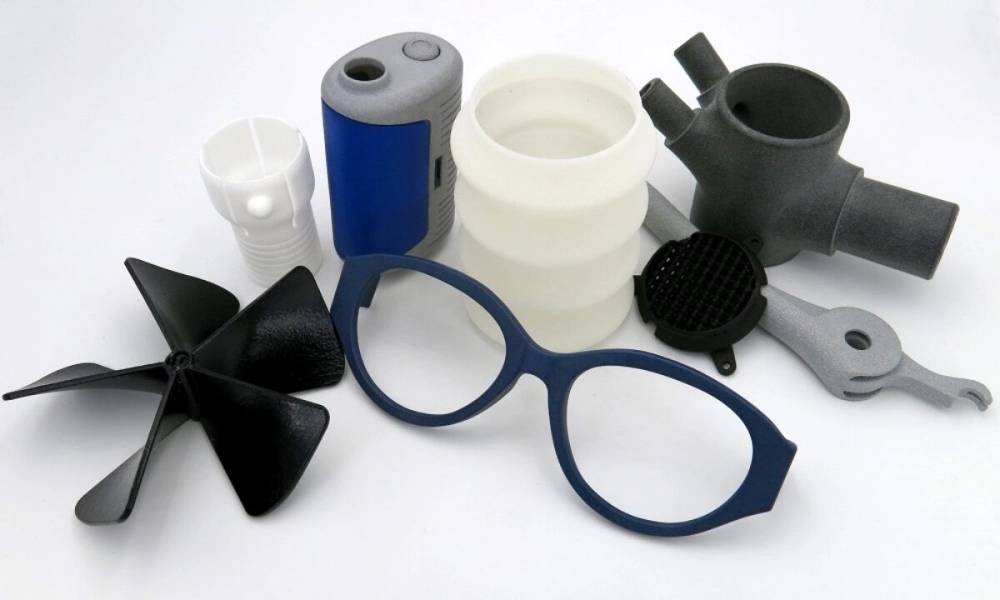
3 Core Types of Plastic Prototypes
- Looks-like Prototypes: Focus on size, shape, and surface finish. Perfect for early design presentations or market research.
- Works-like Prototypes: Prioritize mechanical performance, stability, and environmental resistance. Use them to test the core functions of plastic prototypes.
- High-Resolution Prototypes: Match mass-production quality closely. Ideal for final validation or small-batch pre-launch trials of prototype plastic parts.
Key Preparations Before Making a Plastic Prototype
Determine Your Prototype Goals and Requirements
Ask yourself: Is this plastic prototype for appearance verification, functional testing, or small-scale trial production?
Clarify key indicators: dimensional tolerances, performance standards (impact resistance, heat resistance, etc.), visual expectations, and the delivery schedule for plastic prototype manufacturing.
In addition, it is necessary to clarify how the plastic prototype will align with the final product – whether it should match the materials or processes for mass production.
Budget & Cost Control Basics
Optimize costs by choosing materials and processes that are suitable for your stage. For instance, in plastic prototyping, low-cost PLA is used instead of high-end PC for proof of concept.
Avoid overdesigning on early plastic prototypes – focus on the functions that need to be tested at present.
Compliance & Quality Pre-Checklist
Make sure that the materials you choose comply with industry standards in plastic prototype manufacturing, such as RoHS(for electronics) or FDA(for food/medical contact).
Verify whether the manufacturing process meets the intended use of the product – in critical plastic prototype applications, do not compromise on quality.
Preparing the necessary documents in advance: The Material Safety Data Sheet (SDS) and performance test report will simplify the subsequent plastic prototyping steps.
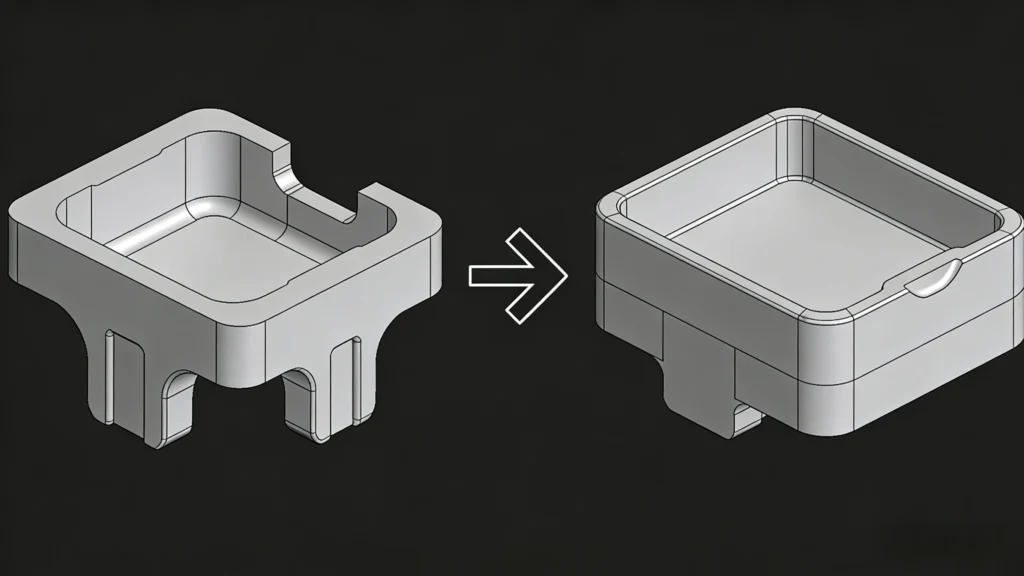
Making a Plastic Prototype Step-by-Step
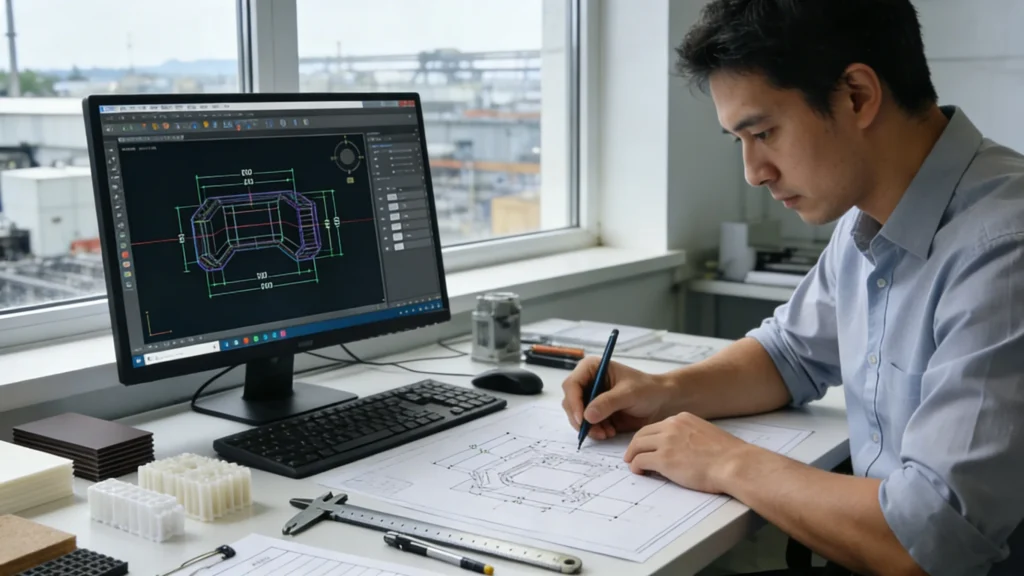
Step 1: 3D Design & DFM Optimization
Start 3D modeling with the CAD software that suits your needs: SolidWorks for mechanical design, Fusion360 for cloud collaboration, or CATIA for high-precision plastic prototyping.
- Minimize unsupported overhangs (3D printing needs supports for angles >45°—use self-supporting angles or fillets instead).
- Keep wall thickness uniform—avoid extreme thinness or uneven thickness (check the table below for process-specific minima).
- Add fillets (rounded edges) to reduce stress concentrations—aim for a minimum radius of 0.5× wall thickness for prototype plastic injection molding.
Run interference checks using your CAD software. Before producing the plastic prototype, ensure that all components are seamlessly assembled.
| Process | Minimum Wall Thickness (mm) |
| FDM 3D Printing | 1.2 – 2.0 |
| SLA 3D Printing | 0.6 – 1.0 |
| Injection Molding | 1.0 – 3.0 |
| Urethane Casting | 1.5 – 3.5 |
Step 2: Select the Right Prototyping Methods
Choose a process that aligns with your plastic prototyping goals.
| Prototyping Method | Core Benefits | Ideal Use Cases | Precision Range |
| 3D Printing (FDM/SLA/SLS) | Fast iterations, low cost, handles complex geometries | Early concept validation, multi-version comparisons for plastic rapid prototyping | ±0.1mm |
| CNC Machining | High precision, material stability, repeatability | Functional testing, high-demand structural cnc plastic prototype | ±0.1mm |
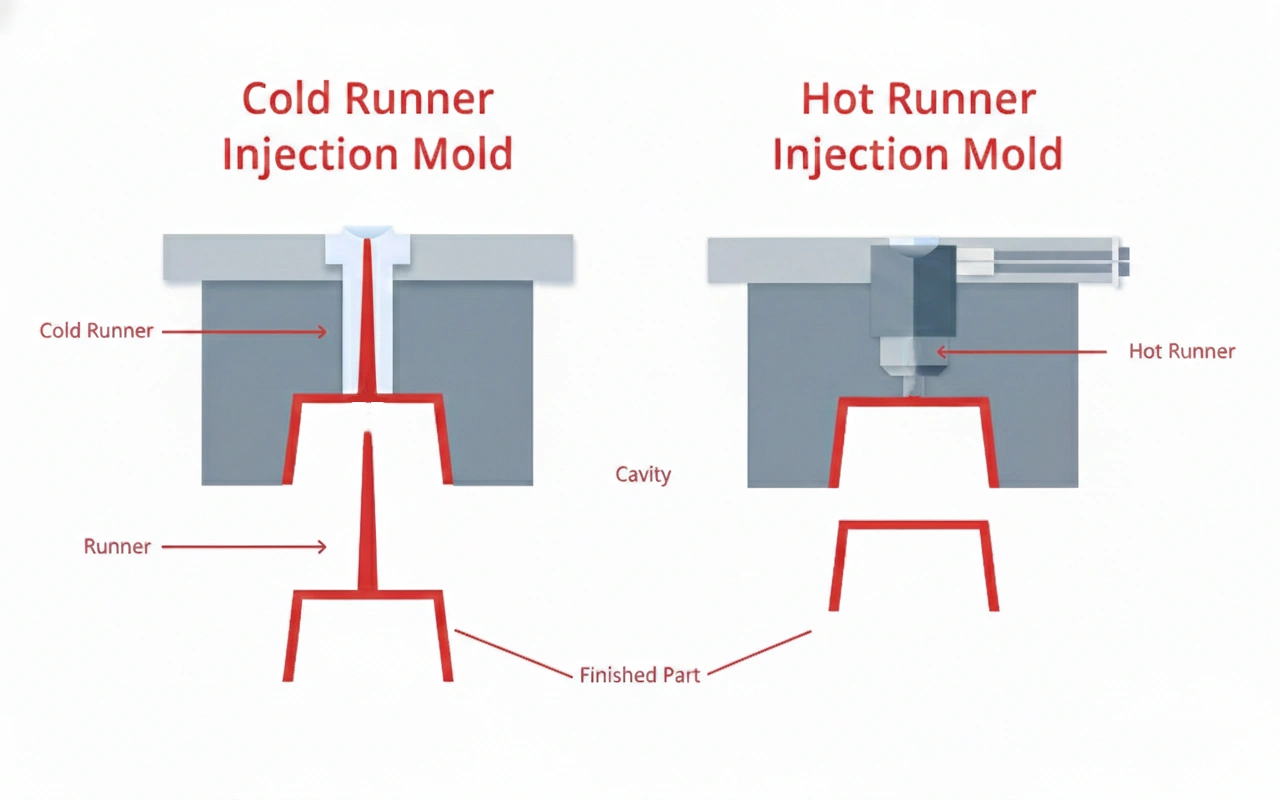
| Injection Molding (Rapid Tooling) | Batch consistency, production-ready process | Final validation, small-batch trials (100-1000 units) for prototype plastic injection molding | ±0.02mm |
| Urethane Casting | High detail replication, flexible material options | Visual prototypes, small-batch functional parts (10-50 units) | ±0.05mm |
Step 3: Choose the Right Material
Your prototype materials determine the performance of the plastic prototype – please match it with your test goals and the application scenarios of the plastic prototype service. The following are several common prototype materials:
| Material | Key Properties | Ideal Applications |
| ABS | Impact-resistant, high-strength, easy to process | Consumer electronics enclosures, automotive parts, for prototype plastic parts |
| PLA | Biodegradable, easy to print, cost-effective | Concept prototypes, display models for rapid prototyping of plastic |
| PC | Heat-resistant, optically clear, high-impact strength | Medical devices, protective components, aerospace parts |
| Nylon | Wear-resistant, flexible, fatigue-resistant | Industrial gears, sports equipment, and connectors |
| PEEK | High-temperature resistance, chemical stability, and biocompatible | Premium medical implants, extreme-environment parts |
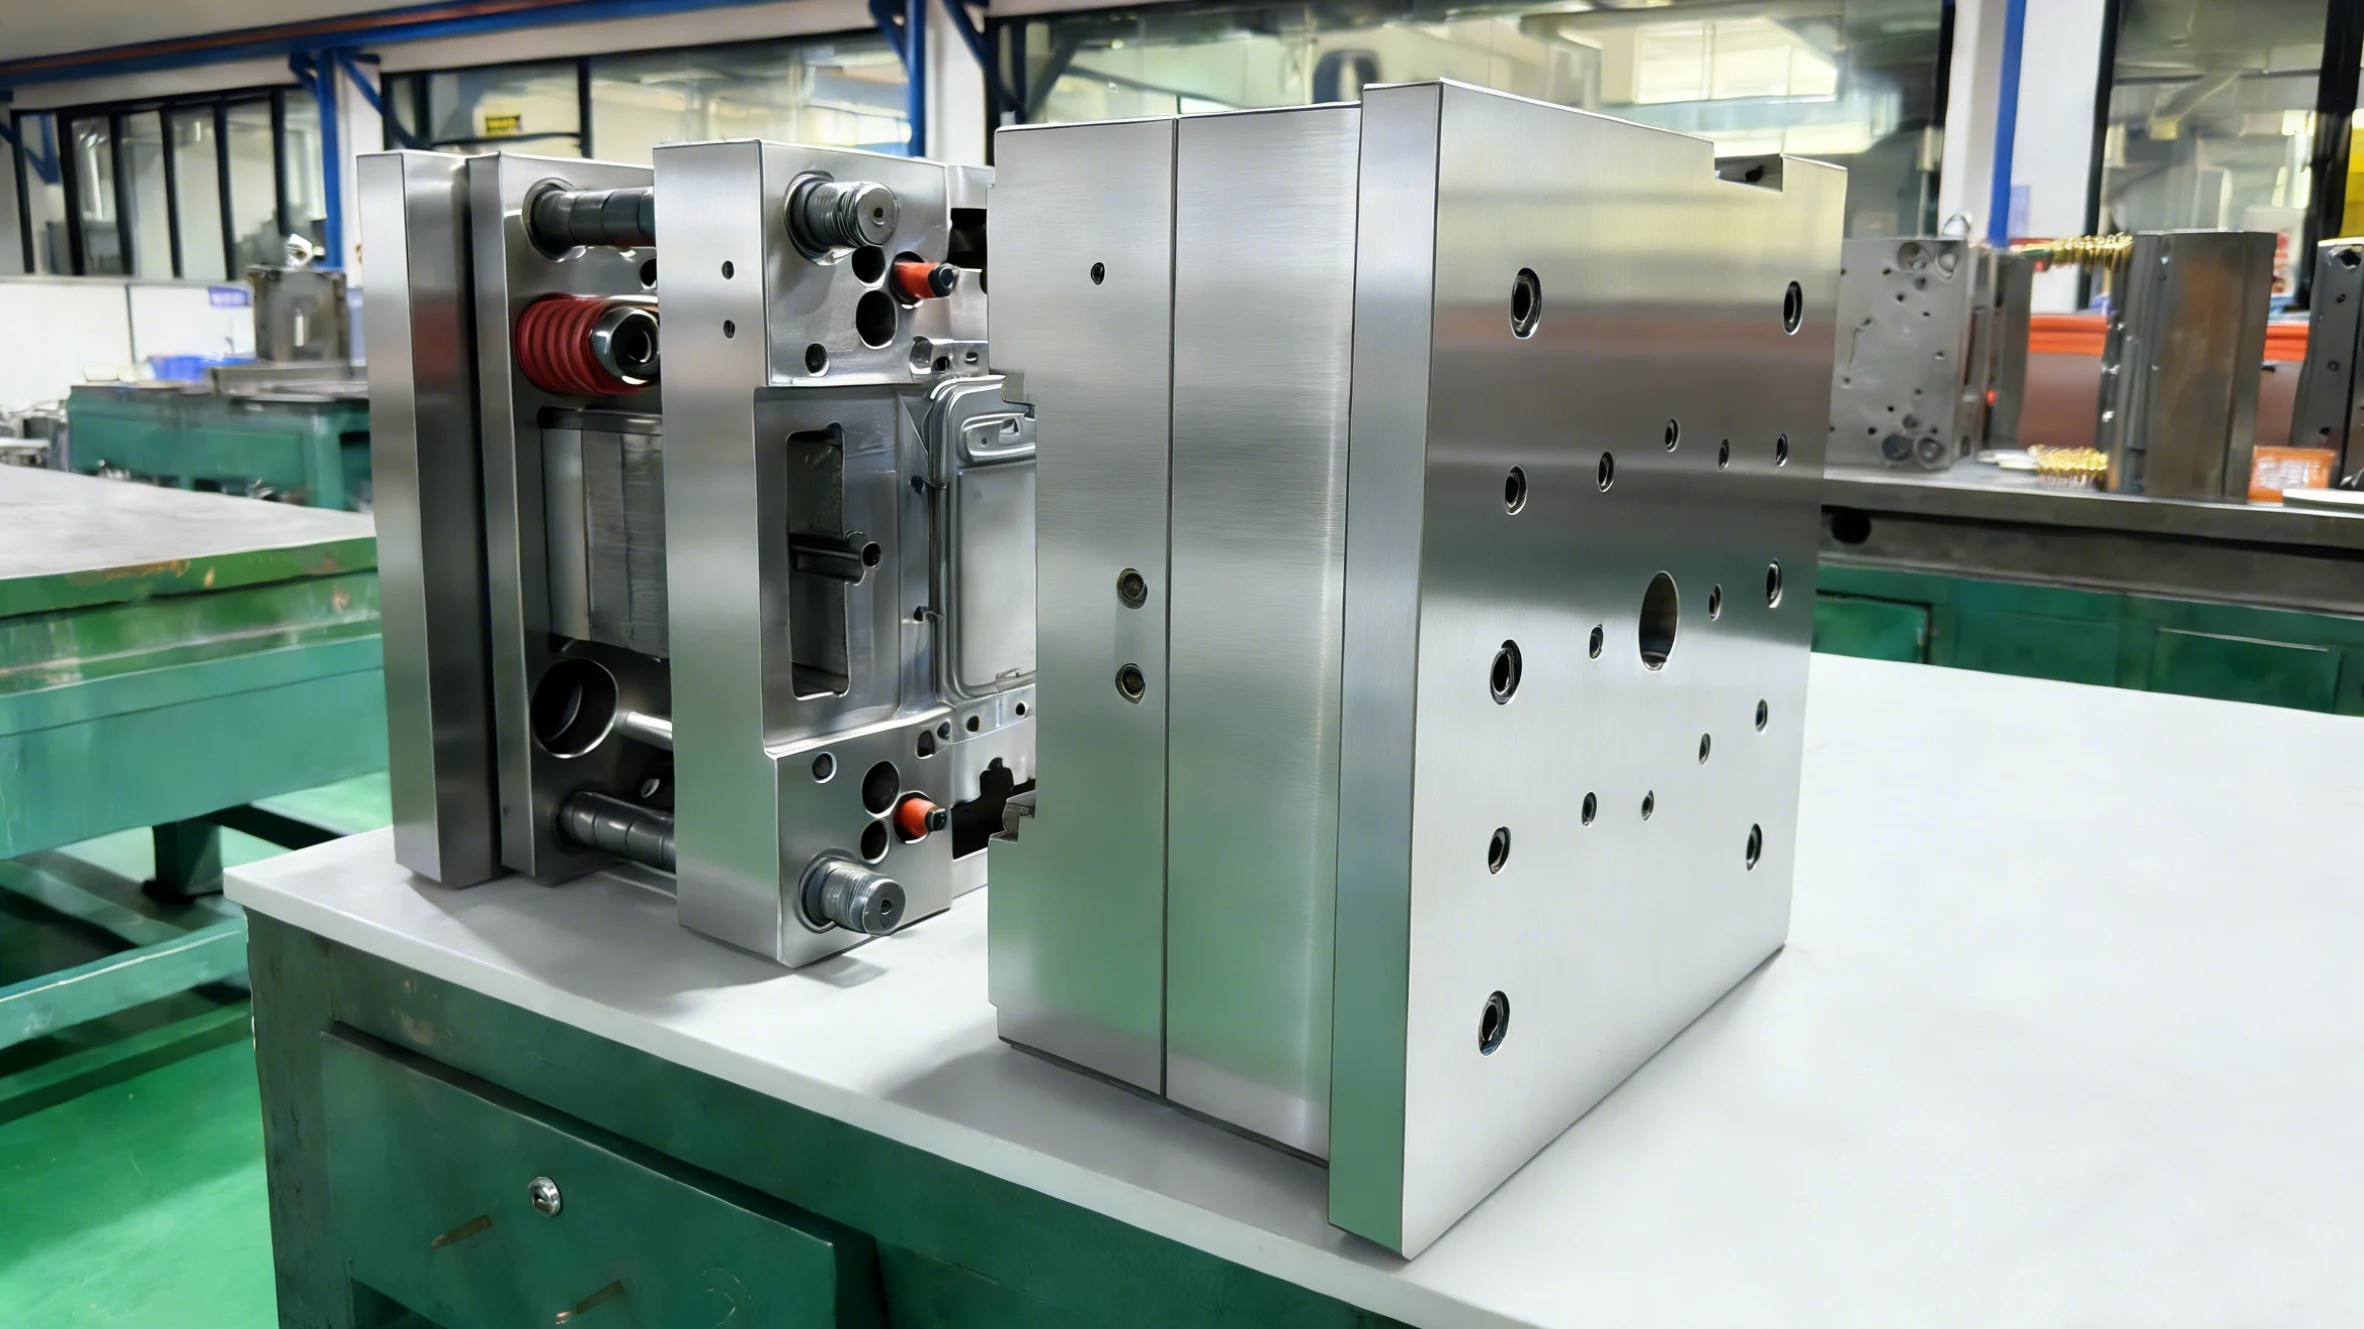
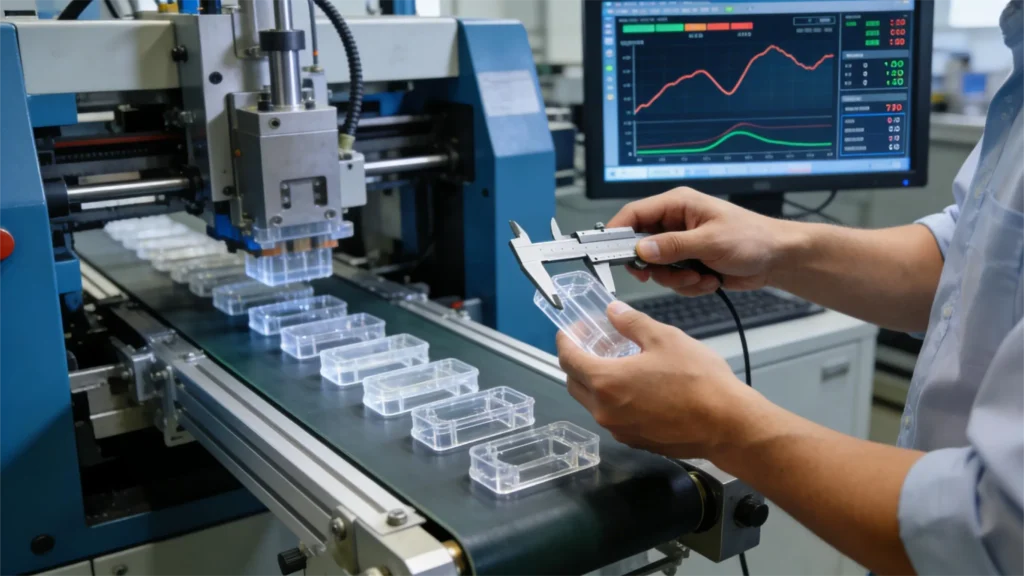
Step 4: Plastic Prototype Manufacturing
Once your design, process, and materials are locked in, the plastic prototype manufacturer will start production.
They will calibrate the equipment parameters to match your plastic prototype mold specifications, ensuring consistency from the first part to the last.
Key production stages include process monitoring – suppliers conduct random checks on dimensions and performance to identify and address issues early in the plastic prototyping process.
For small-batch production, partners will optimize the production schedule to meet your deadlines without sacrificing the quality of plastic prototypes.
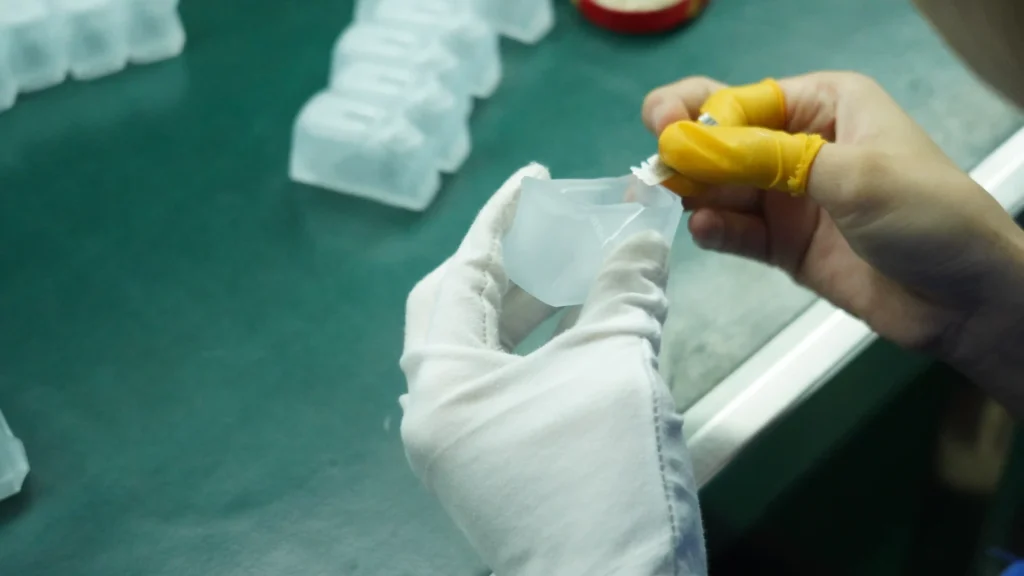
Step 5: Post-Processing
Start with basic finishing: removing support structures, sanding burrs, and correcting minor dimensional deviations for your plastic prototype.
For visual appeal, add polishing, painting, silk-screening, or coating (e.g., UV curing for clear parts, texture for exterior prototype plastic parts).
Boost functionality with assembly aids: tapping threads, installing fasteners, or adding surface hardening treatments to your plastic prototype.
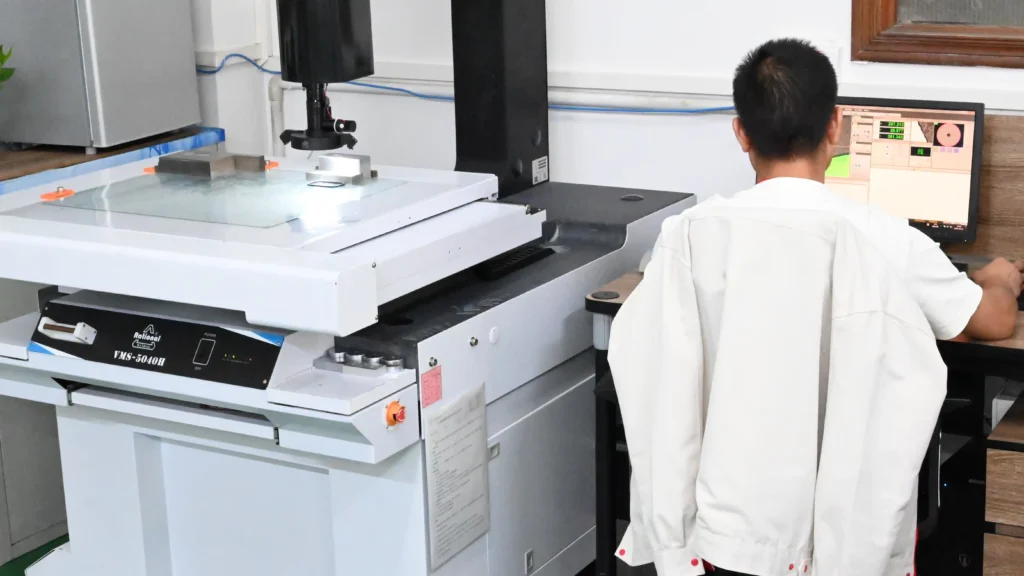
Step 6: Testing & Validation
Run three core tests to ensure that your plastic prototype meets the standards of the plastic prototype service:
- Engineering Verification Test (EVT): Tests core functions such as tensile strength, impact resistance, thermal cycling, or water resistance.
- Design Verification Test (DVT): A single comprehensive inspection that integrates functionality, usability, reliability, and compliance into plastic prototype manufacturing.
- Production Verification Testing (PVT): Verify compatibility with mass production processes, including the first piece inspection (FAD) of prototype plastic injection molded parts.
Record all test data, failure points, and improvement opportunities – this is your roadmap for optimizing plastic prototypes.
Step 7: Iteration & Optimization
Drive the improvement of rapid plastic prototyping with test results: adjust your CAD design, change materials, or fine-tune manufacturing processes.
Work with your partners to create revised plastic prototypes and repeat the plastic prototype tests.
Stop iterating when your plastic prototype meets all preset requirements – size, performance, appearance, compliance – and seamlessly aligns with production.
Cost-Saving Tips for Plastic Prototype Manufacturing
Have your plastic prototype manufacturer conduct a DFM analysis as early as possible. Their professional knowledge can eliminate design flaws and avoid costly rework in the later stages of plastic prototyping.
Match materials according to the plastic prototype stage: PLA is used for conceptual design, ABS/PC for functional testing, and PEEK is only used in high-demand scenarios of plastic prototype services.
Consolidated order: Integrate multiple plastic prototype versions or components into one order to obtain bulk pricing discounts from partners.
Select the appropriate process for mass production: use 3D printing for small batches, CNC machines for precision processing, and injection molding for large batches.
Skip unnecessary finishing – Early plastic prototypes do not require production-grade aesthetics. Just focus on the content required for the current test.
Common Mistakes to Avoid in Plastic Prototyping
1. Don’t overlook the process limitations. For instance, 3D printing cannot handle extremely overhanging structures, while plastic prototype injection molding requires an appropriate demolding Angle.
2. Avoid choosing materials blindly. The use of standard ABS in high-temperature applications may lead to failure – please match the appropriate material properties according to the application scenarios of the plastic prototype.
3. Never skip DFM optimization. Digital models may look perfect, but unoptimized designs often fail in the process of plastic prototype manufacturing.
4. Don’t skip the test to save time. Plastic prototypes that look “good” may fail in actual use – comprehensive testing can prevent expensive production problems.
5. Don’t rush to choose a plastic prototype manufacturer. Before cooperating on plastic prototype services, the process capabilities, quality control systems, and delivery records should be verified.
How YG Supports Your Plastic Prototype Needs
As a professional injection molding manufacturer, YG Company offers one-stop ODM/OEM services ranging from product design, plastic prototype development, injection mold making, plastic injection molding, and final delivery.
Every step – whether internal operation or carried out through partners – is supported by a strict quality control system. We ensure compliance with industry standards and guarantee that your plastic rapid prototyping meets your requirements in both performance and appearance.
From the initial design to the final delivery, throughout the entire process, we strive to simplify the procedures. You will enjoy the advantages of our injection molding expertise and the flexibility provided by our plastic prototyping service network.
Conclusion
A well-executed plastic prototype is the key to successful product development. It can reduce risks, lower costs, and accelerate your market entry speed in plastic prototype manufacturing.
By following this step-by-step process and collaborating with a trusted plastic prototype manufacturer, you will create a plastic prototype that accurately reflects the final product.
Are you ready to start?
Free consultation: Contact us to get personalized plastic prototype customization suggestions for your project.
Design Review: Submit your 3D model for professional DFM optimization to support plastic prototype manufacturing.
Sample application: Order material samples or small-batch plastic rapid prototypes to test feasibility.
Visit our website, send an email, or use the online chat to contact us immediately.